Live for the Moment

Every moment counts. Hence live for the moment to be happy and light
Showing posts with label Sewing efforts. Show all posts

March 11, 2016

Handy Pouch

Yes... One more.... Few days ago, a friend of mine left the city, as she got transferred out from here. Wanted to gift her something handmade.  And she called to say that she'd drop in at 4.30pm.  It was already 3.30 pm....  This struck my mind at that moment that I could churn out a cute little pouch for her.  So off I went to my scrap stock, took out a beautiful print and a matching one for the liner, a zip and a sponge sheet (which comes as packing with new shirts:).


Just as I was about to complete, the bell rang and she came in... Took her to my stitching place and we started chatting happily while I worked to complete the pouch... And it was done.


These were the three layers


I love making these.  And they are very simple and handy to make


No wonder she was extremely happy.

February 04, 2016

Pencil pouch making is addictive

Fun project indeed
They are so quick and easy to make and so pretty and functional too.  So called instant gratification.  My lil' one is on the moon :)


I used the scraps at home.  This White red combo I thought would be nice.  Unfortunately it was so small a piece that I had to contend myself in making an 8" pouch.  Serves the purpose.  So its fine.


Umpteen tutorials on blogland and youtube.  Had done a few in the past too.  They never saw the day of light on blogland though :) So this time I thought I must preserve this memory.  Children tend to loose these in school.  This is the fourth one that I made.  And she likes it so much that she does not want a store bought one now.  I love sewing them up.  So its win win for us.


All in I think less half an hour.


This adorable one is mine to hold nick naks.   Hope I inspire my bloggy friends to whip up one.

January 20, 2016

New beginnings is the word!!!

Hi.  Hope the new year has begun in the right spirit and you all enjoyed with your families

New beginnings has been the word for me since June 2015.


 Yes.  We moved to a new home and though the experience was exhausting, it was memorable and fun too.  Been half a year since we moved here.  Shifting, settling and getting used to a new home was a learning.  Not to hoard things that we feel we will need ONE day and becomes so difficult later when we have to move.  Phew.  I must give up on my habit of hoarding things at home.  A clean and clear home ushers positive vibes all around.

Internet connection took few months. Blogland became a distant dream for a while.  Am back now finally!!

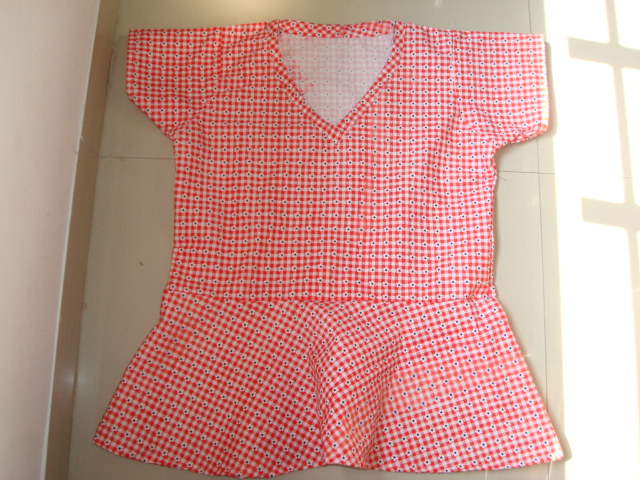
Had an urge to stitch something.  Looked into my stash and found some cotton fabric enough for a top.


 Hunted for a pattern on the Internet since am a beginner. and found this. http://www.itsalwaysautumn.com/2013/10/18/how-to-sew-a-peplum-shirt.html.  This tutorial has been very beautifully explained and easy to make.  So I made a peplum top for my daughter.


There is some printing defect on the fabric. So i washed to ensure that the colour does not `run'. 

So satisfying at my effort.


February 03, 2014

Zipper pouch

Before I could even blog about it, its gone.  Nevertheless, the memories are there :)  Ever since I saw zipper pouches on blogland, I wanted to make one myself and more than me, my little one was very keen that I make one for her.  I kept getting lot of reminders from her :) is when I decided its time I work rather than just gaze at tutorials.  

Here's how it turned out


She used it excitedly for about 10 days and :( sad, left it behind in school one day.  And she's lost it. Her favourite TRIMAX pens and other paraphernalia along with the pouch are gone.  She was upset for a day... (so was I ).  I'll make one more now.

The making is super simple.  There are vivid tutorials available on blogland.


Four pieces of fabric. The same size as the zipper.  I also used a soft sponge for padding in between.  All left over fabric that I had in my stash. By the way, the sewing machine is my mother's and is more than 50 years old. Going strong.  She has attached a motor also.  Though I use it sparingly, I take care, oiling it once in a while.  I love it.


I tried this out.  Cut circles.  Turned them inside out first


Then pinned them like this and 


Stitched them one above the other to make it look cuter.

Sense of achievement. Source of scoring brownie points from my lil one :)

Hmmm... there are two new shoots growing in my balcony.  I planted these.  Can you guess?


May 30, 2012

A sewing effort

A new learning.... very less of effort but abundance of joy! Out of the blue project.  Another sense of achievement. I am still on vacationHira Pacchi, my aunt had also come down.  At age 75, like my mom, she too has all the enthusiasm to learn something new, be it crochet, stitching, cooking etc. Recently, she learnt how to create this cushion. And she was all enthu to teach me how to make it. And she can't stop till a project begun sees its end :)  She ensured to follow up with me that I finish it.... Good for me.  Else, I am at at least 2-3 projects at one go and they linger on for a while........  Look how it sits snugly on the cot. 


Created out of flimsy fabric (polyester types, else, satin kind of material will also do). Just 22 X 60 inches fabric.


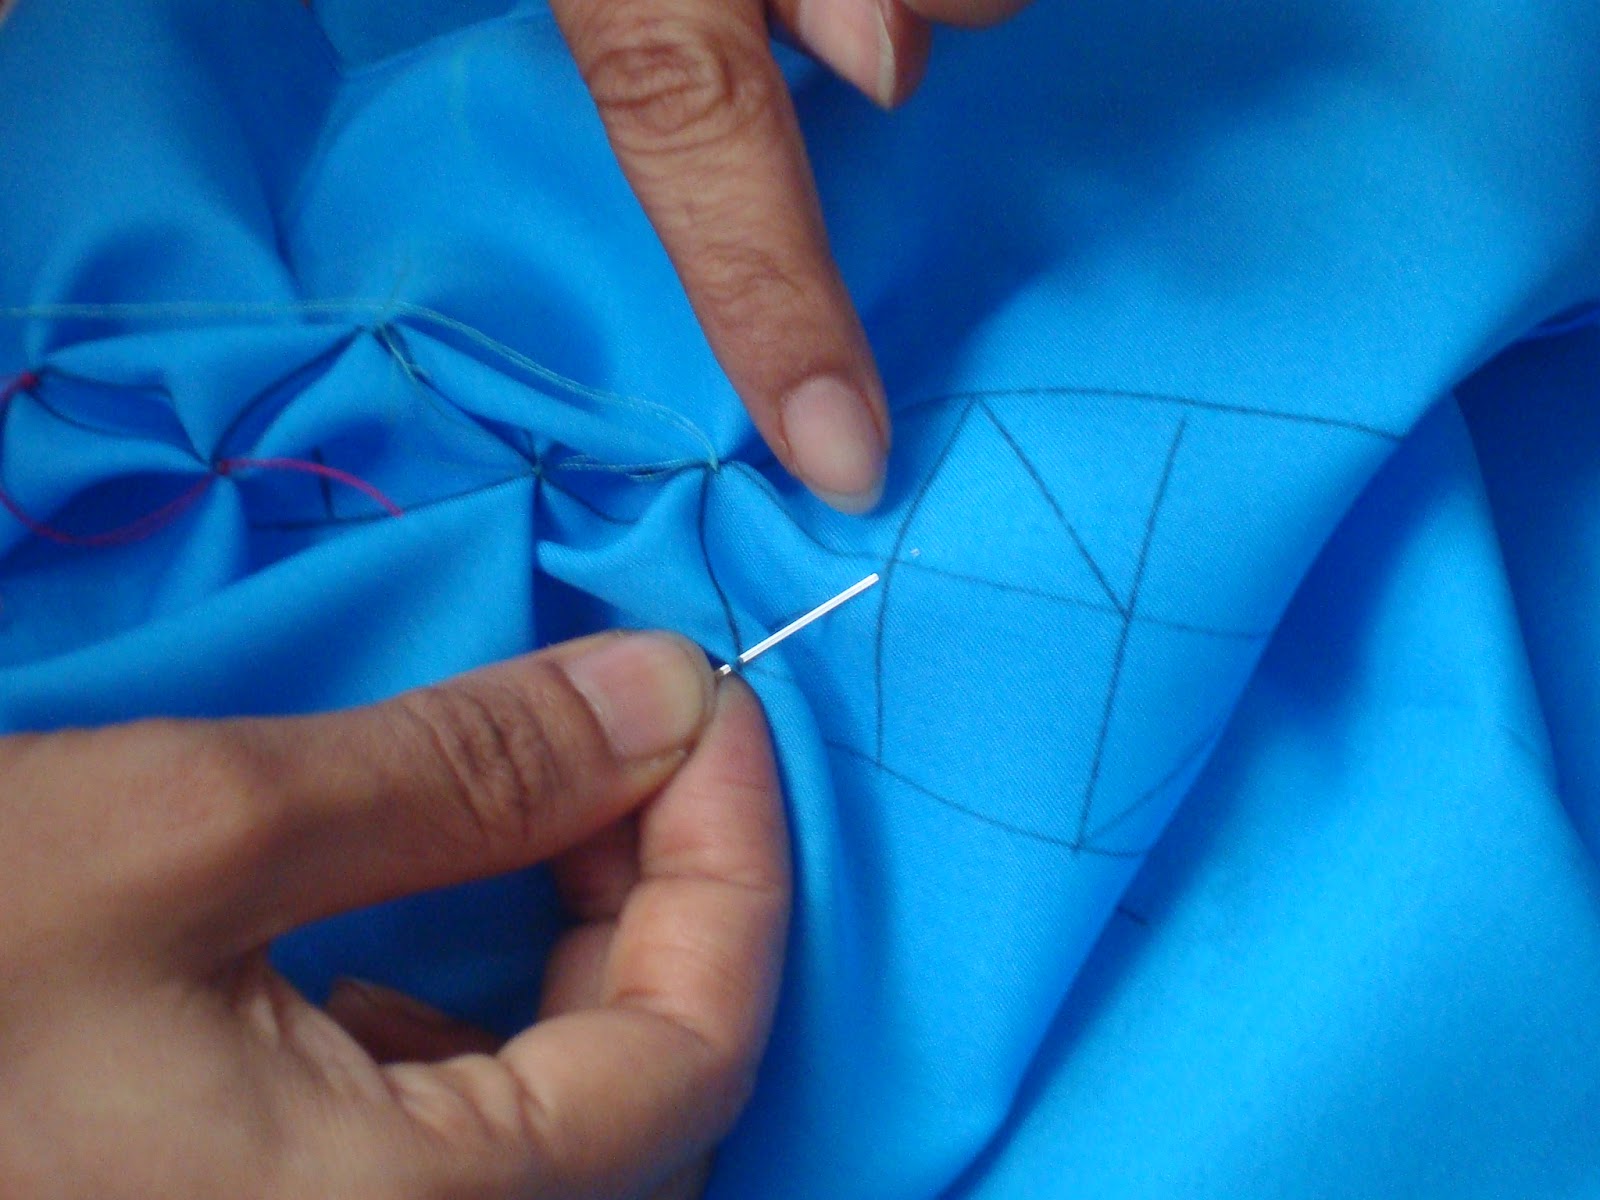
Here's how I went about. I first traced on a chart paper of 22  X 60 inches.  Draw a line through the centre at 11inches.  I'll refer to this line as the central line as this divides the 22 inches paper into half. Then mark horizontal lines of 4 inches with a gap of 2 inches throughout. And the horizontal line is 2 inches on either side of the central line line as shown below.  Also draw line at 5 1/2 inches on either side of the central line.  Draw parallel lines at 1 inch distance from this line on either side of the 51/2 inch line and horizontal lines at 1 inch distance between this block. Next  draw diagonal lines joining upper and lower line. Take care to ensure that these diagonal sides on blocks are opposite to each other... ie. complimentary.  A little confusing but the chart below gives an idea how to go about.  


Next, is to stitch along the diagonal lines on both the blocks.. Like this


When completed, the front side looks like this

This is the back side


Next is to complete the central line stitching.  I have missed out on the pics for this.... Sorry.  Let me explain.  On the four inch line,  just stitch a running stitch, pull the thread and knot it. All the lines across.  I used two colours of fabric since I did not have a single 22 X 60 length fabric.  Once done, join across the breadth using running stitch.  So you get a cylindrical shape now to the fabric.  Next, stitch running stitch through the length of the fabric, leaving say 1/2 inch edge and pull the string (use a thick thread here so that you can pull tightly).


For the stuffing, we need synthetic fibre. Approx 250 grams.  Take small swab, Cover a coin with the same, wrap a small square piece of similar fabric, and tightly tie round the same.
Like this.
Insert this blob, using a pencil at the centre of the cushion.  A little difficult because we would also tightly tied the other part.
It looks like this.

Follow the same procedure on the other length, leave a small opening and stuff the fibre first before closing the same with another blob, created as explained above.

Tadahhhhh .... cushion is ready.  Matter of not more than 3 to four hours.  How colourful  a set of such cushions would be!!