A new learning.... very less of effort but abundance of joy! Out of the blue project. Another sense of achievement. I am still on vacation. Hira Pacchi, my aunt had also come down. At age 75, like my mom, she too has all the enthusiasm to learn something new, be it crochet, stitching, cooking etc. Recently, she learnt how to create this cushion. And she was all enthu to teach me how to make it. And she can't stop till a project begun sees its end :) She ensured to follow up with me that I finish it.... Good for me. Else, I am at at least 2-3 projects at one go and they linger on for a while........ Look how it sits snugly on the cot.

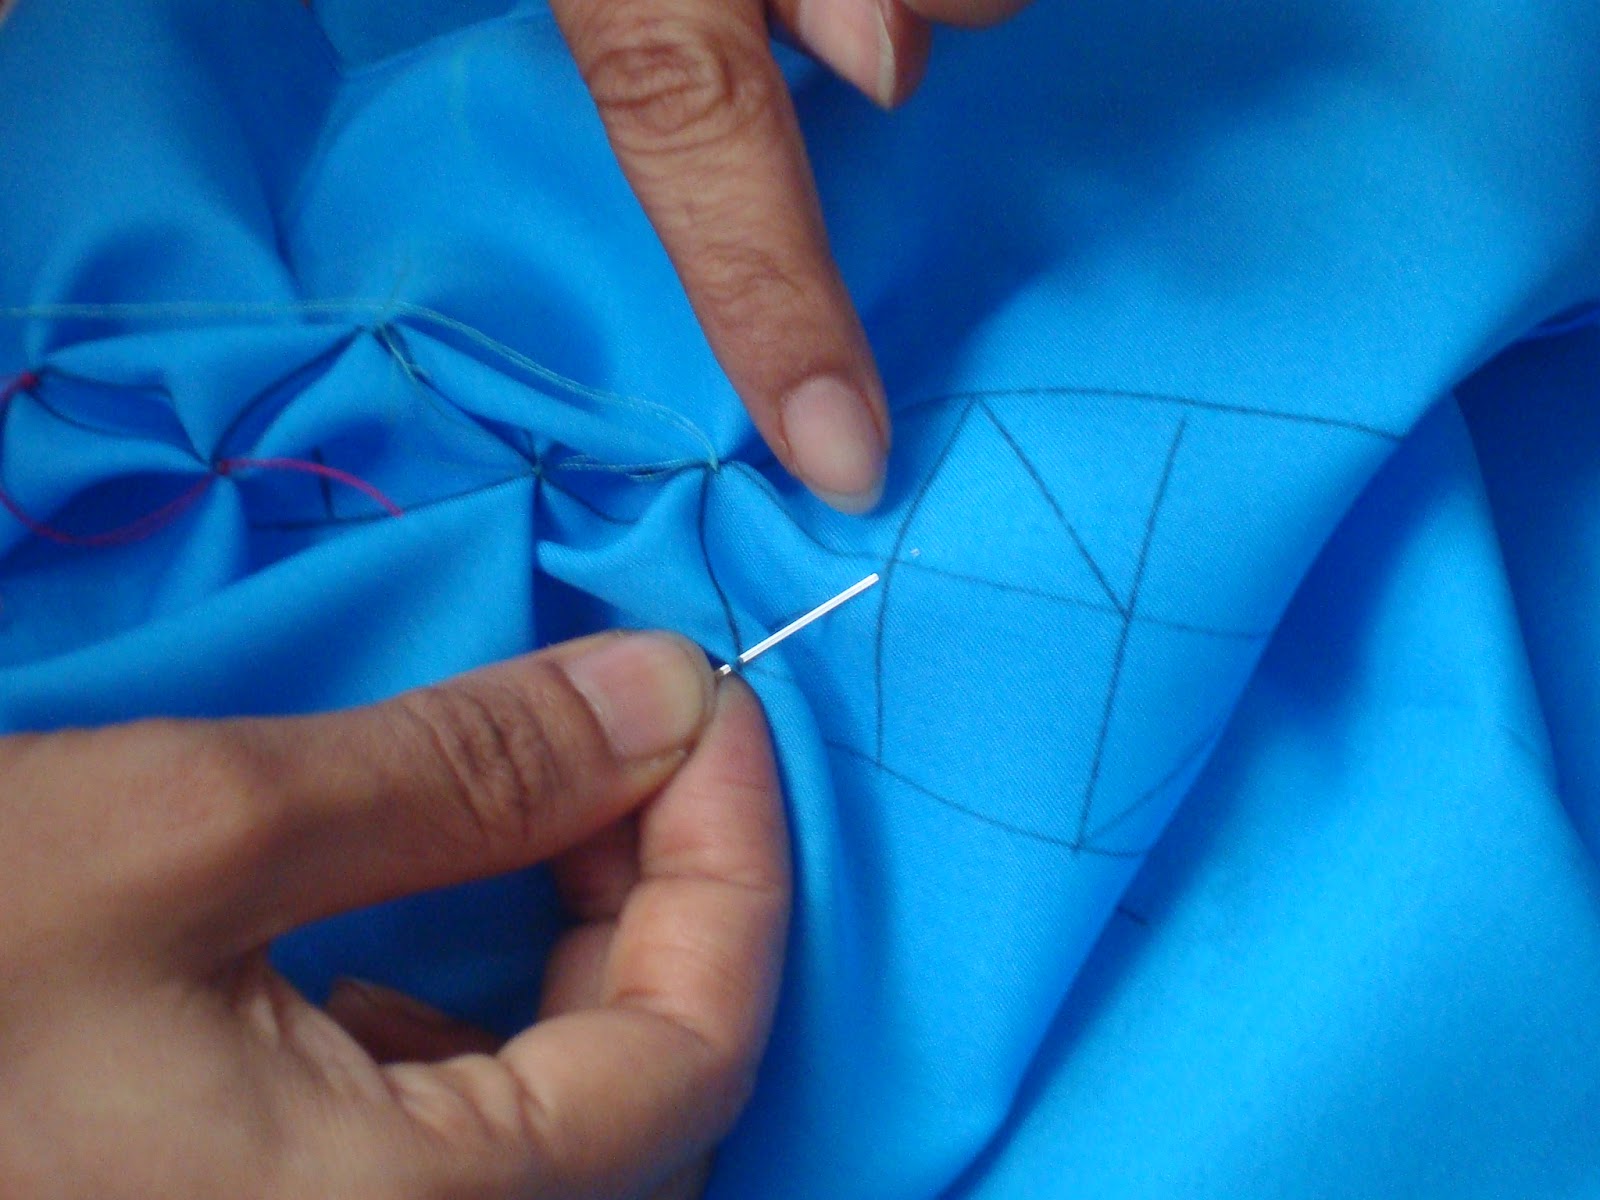
Here's how I went about. I first traced on a chart paper of 22 X 60 inches. Draw a line through the centre at 11inches. I'll refer to this line as the central line as this divides the 22 inches paper into half. Then mark horizontal lines of 4 inches with a gap of 2 inches throughout. And the horizontal line is 2 inches on either side of the central line line as shown below. Also draw line at 5 1/2 inches on either side of the central line. Draw parallel lines at 1 inch distance from this line on either side of the 51/2 inch line and horizontal lines at 1 inch distance between this block. Next draw diagonal lines joining upper and lower line. Take care to ensure that these diagonal sides on blocks are opposite to each other... ie. complimentary. A little confusing but the chart below gives an idea how to go about.

Next, is to stitch along the diagonal lines on both the blocks.. Like this


When completed, the front side looks like this

This is the back side

Next is to complete the central line stitching. I have missed out on the pics for this.... Sorry. Let me explain. On the four inch line, just stitch a running stitch, pull the thread and knot it. All the lines across. I used two colours of fabric since I did not have a single 22 X 60 length fabric. Once done, join across the breadth using running stitch. So you get a cylindrical shape now to the fabric. Next, stitch running stitch through the length of the fabric, leaving say 1/2 inch edge and pull the string (use a thick thread here so that you can pull tightly).


Follow the same procedure on the other length, leave a small opening and stuff the fibre first before closing the same with another blob, created as explained above.
Tadahhhhh .... cushion is ready. Matter of not more than 3 to four hours. How colourful a set of such cushions would be!!

Wow, you're very clever! :)
ReplyDeleteTina, you inspire me for all this :) Thank you
ReplyDeleteHi Aishwarya, Thanks for visiting me.
ReplyDeleteThis cushion looks super complicated!You seem to have lots of patience.
I liked your post about your Dad, as I dearly miss my father who meant the world to me.
A small note: your blog does not show the date, neither in the post nor in archive so it is difficult to know when you have posted.
Love.
Thanks Sangeetha. Making of the cusion is not complicated at all. It can be completed in a couple of hours.
DeleteThank you for the suggestion regarding post date. I'll make the necessary changes
Wow Attaya I am now even more impressed with your talent. Also u finishe this project? That's great.. Is upasanas
ReplyDeleteThank you Akshata. You are no less!
ReplyDeleteHi Aishwarya !!
ReplyDeleteI am a new visitor to ur blog. Luv the cushion cover you have made.Now I know what I can do with my old clothes/cotton dupattas etc. Thanks for the brilliant idea. Will be visiting more often now.
Thanks
Moushumi
luvforcrafts.blogspot.in
Moushumi, please avoid cotton material. It needs flimsy kind of material.
ReplyDeleteAishwarya